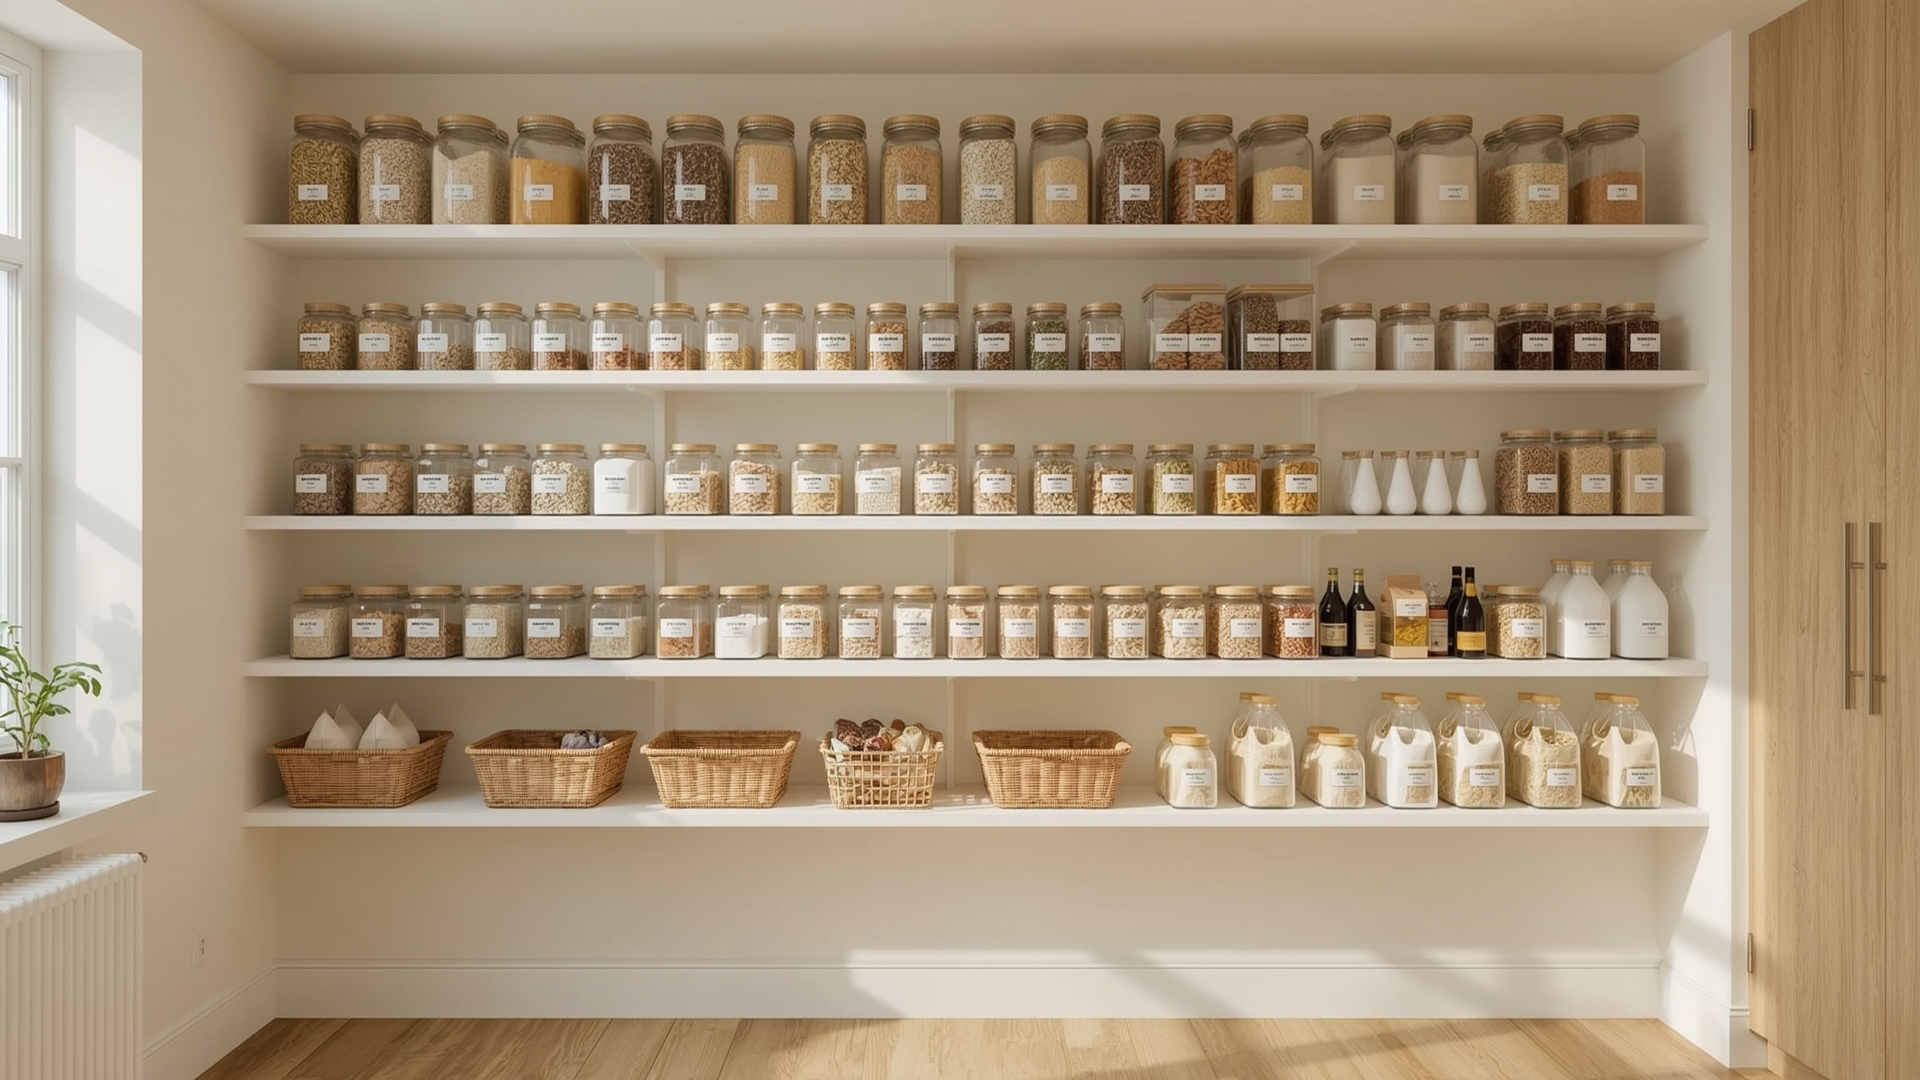
A disorganized pantry doesn’t just look messy. It costs you money, time, and mental energy every single day. You buy duplicates of things you already have. Food expires before you notice it. Dinner prep takes twice as long because nothing is where you expect it to be.
The good news is that pantry organization isn’t complicated. It’s a system. And once you set it up, it runs on autopilot. This guide walks you through zone setups, container choices, label strategies, and budget-friendly makeovers — so your pantry works for your actual life.
Key Takeaways
- Zone your pantry first: Group items by use (meals, snacks, baking, drinks) before buying any bins or containers.
- Decant strategically: Move only high-use dry goods into containers. Keep everything else in its original packaging.
- Label everything: Labels are what make a system last. Without them, the pantry reverts to chaos within weeks.
- Shop your pantry before the store: A well-organized pantry prevents duplicate purchases and food waste.
- Budget matters: A functional pantry makeover can cost as little as $30 using dollar store bins and printed labels.
- Maintenance is the system: A 5-minute weekly reset keeps everything working. No reorganization required.
What Is Pantry Zone Organization and Why Does It Work?
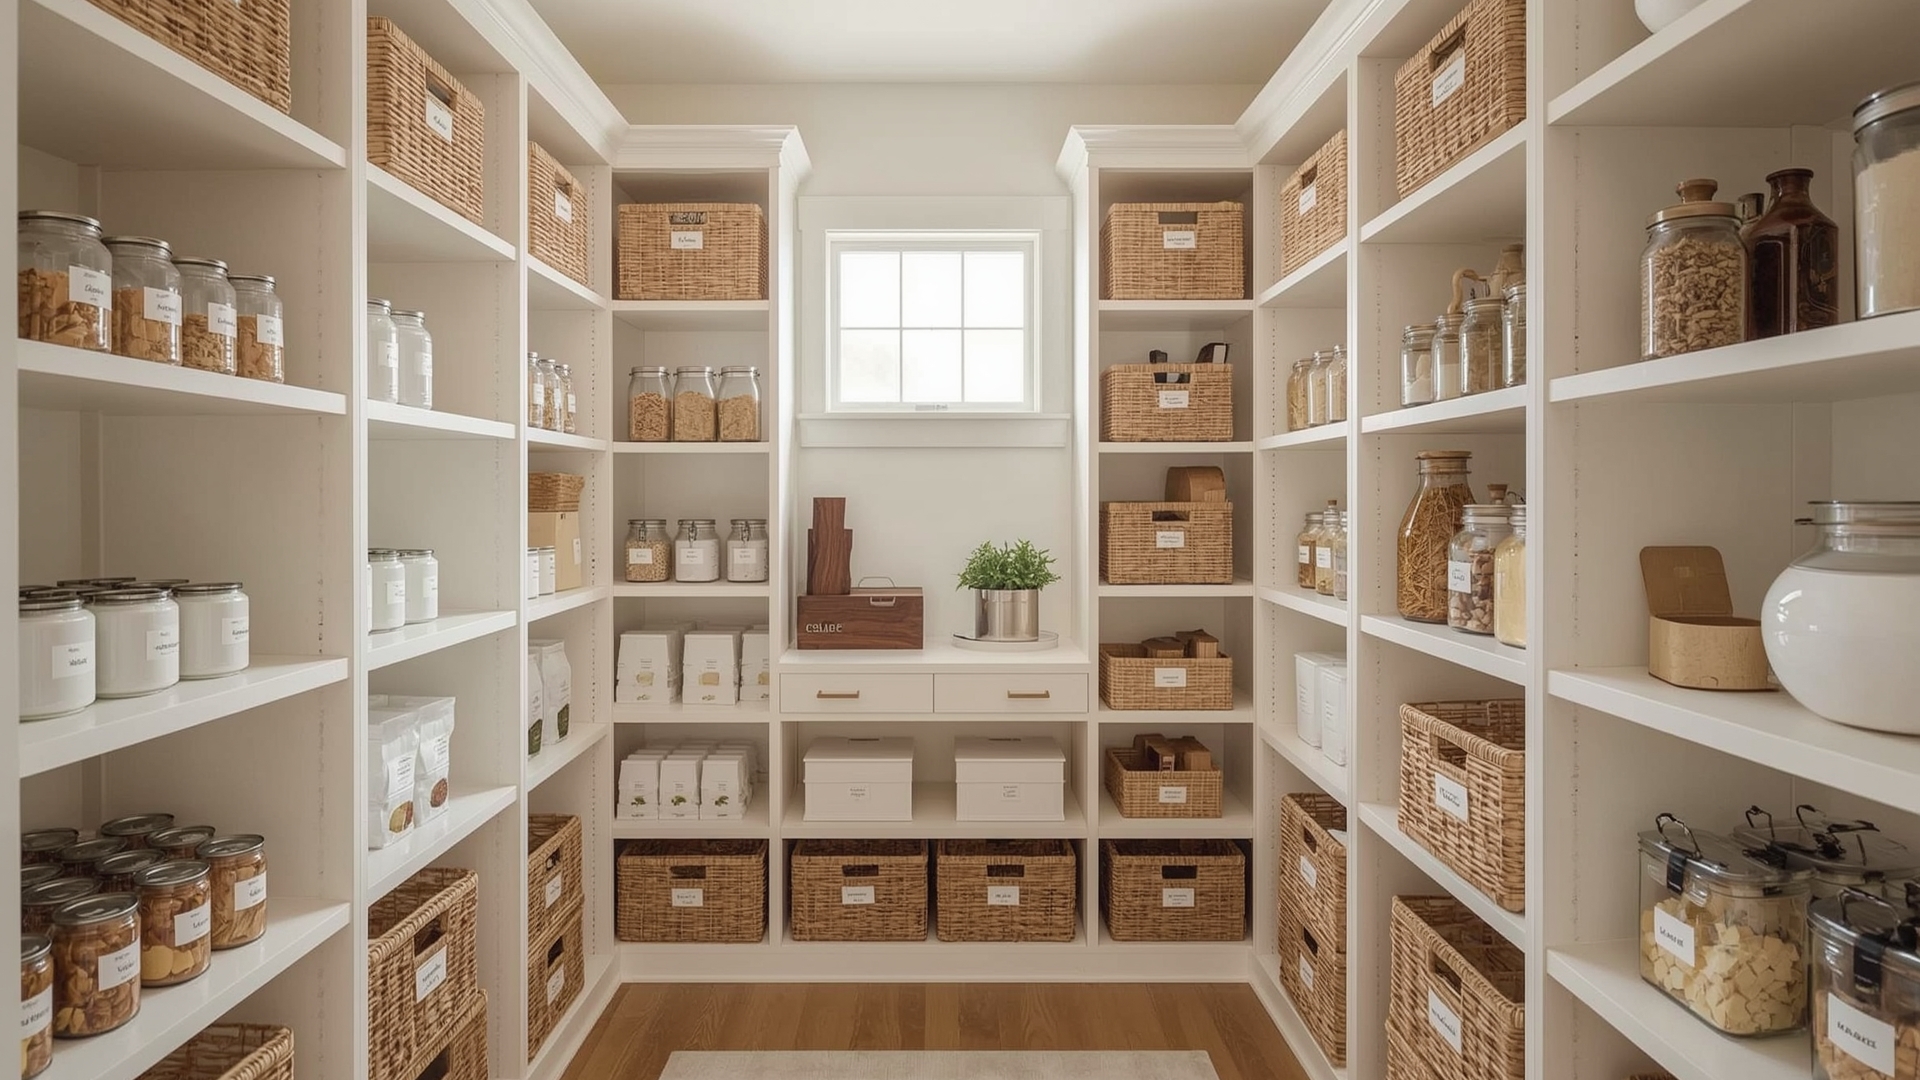
Quick Answer: Pantry zone organization means dividing your pantry into dedicated areas by category — meals, snacks, baking, breakfast, drinks. Each zone holds one type of item. This reduces search time, prevents food waste, and makes restocking faster and more intuitive.
Think of zones the same way a grocery store works. You don’t hunt for chips in the produce aisle. Items live where you’d logically look for them. Your pantry should operate the same way.
Zones work because they create a home for every category. When everything has a home, putting things away becomes automatic. Finding things stops requiring a search.
How Do You Decide Which Zones Your Pantry Needs?
Start by pulling everything out of your pantry and sorting items into piles on your kitchen floor. Don’t overthink categories. Let your actual shopping habits guide you.
Most households need five to seven zones. Common zones include: dinner ingredients, breakfast foods, snacks, baking supplies, canned goods, beverages, and a school lunch station. Families with kids often add a dedicated kid-accessible snack zone on a lower shelf.
Once you see your piles, assign the most-used zones to eye level. Heavy items like canned goods go on the bottom shelf. Rarely used items like specialty baking supplies go on the top shelf.
What’s the Right Shelf Height for Each Zone?
Shelf placement by use frequency is one of the most overlooked parts of pantry setup. The wrong placement means you’re constantly bending, reaching, or digging.
| Zone | Recommended Shelf Position | Reason | Example Items |
|---|---|---|---|
| Snacks & grab-and-go | Eye level (adult or child height) | Accessed multiple times daily | Granola bars, crackers, fruit pouches |
| Dinner ingredients | Eye level to slightly below | Used 5-7 days per week | Pasta, rice, canned tomatoes, oils |
| Canned goods | Lower shelf | Heavy, stable items | Beans, soups, vegetables |
| Baking supplies | Upper shelf | Used occasionally | Flour, sugar, baking powder, extracts |
| Beverages & extras | Bottom or floor space | Heavy, bulky items | Water bottles, juice boxes, soda |
| Overflow & backup stock | Top shelf | Infrequent access | Paper goods, extra pantry stock |
Which Containers Are Best for Pantry Organization?
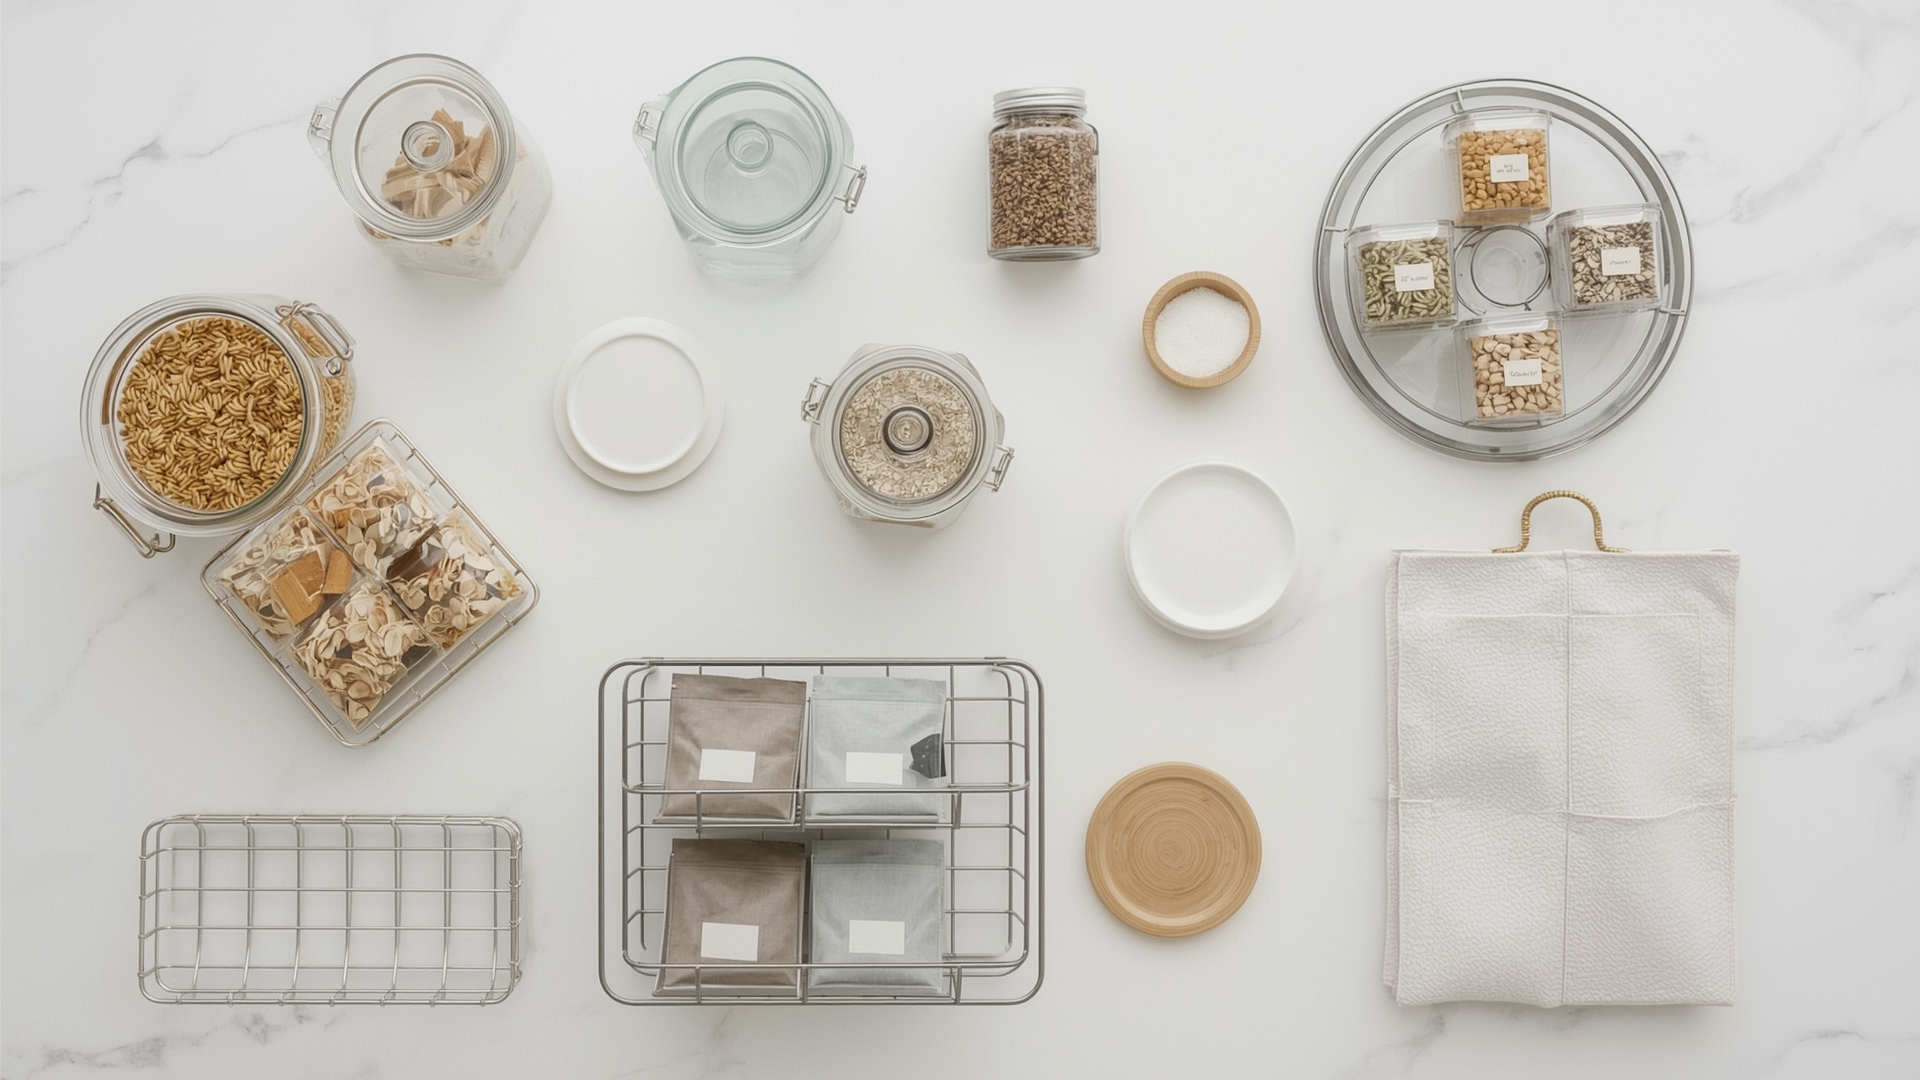
Quick Answer: Airtight canisters work best for dry goods like flour, sugar, pasta, and cereal. Clear containers in uniform sizes maximize shelf space, maintain freshness, and make inventory visible at a glance. Square or rectangular shapes use space more efficiently than round containers.
Container choice is where most people overspend. You don’t need a matching set of 50 glass jars. You need the right containers for the right items.
Should You Decant Everything or Just Some Items?
Decanting means transferring food from its original packaging into a container. It looks clean and uniform — but it’s not necessary for everything.
Decant items you use frequently and reach for daily. Keep less-used items in their original packaging and store them neatly in a bin. This saves time, money, and reduces the risk of losing nutrition labels or expiration dates.
What Are the Most Useful Pantry Container Types?
| Container Type | Best For | Average Cost | Key Feature | Avoid Using For |
|---|---|---|---|---|
| Airtight canisters (square) | Flour, sugar, pasta, oats | $3–$8 each | Stackable, freshness seal | Items with strong odors |
| Pull-out bins / baskets | Snack packets, sauce packets, pouches | $5–$15 each | Easy access, corrals loose items | Heavy canned goods |
| Lazy Susan turntable | Spices, oils, condiments, canned goods | $10–$25 | 360° access, no digging | Tall or unstable items |
| Tiered shelf risers | Canned goods, spice jars | $8–$20 | Doubles visible storage | Items taller than 6 inches |
| Over-the-door organizer | Spices, small packets, foil/wrap | $15–$30 | Uses dead door space | Heavy or large items |
| Magazine-style holders | Foil, parchment, baking bags | $2–$6 each | Keeps flat items upright | Loose or small items |
Are Clear or Opaque Containers Better for a Pantry?
Clear containers win every time for pantry use. You can see fill levels without opening anything. This makes inventory faster and grocery list writing more accurate.
Opaque containers work fine for items you rarely use or items you prefer to keep from light exposure, like certain oils or specialty flours.
What Label System Works Best for Pantry Organization?
Quick Answer: A two-part label system works best — a category label on the bin or basket, and an item label on the container itself. Chalkboard, printed, or clear vinyl labels all work well. The key is consistency: use one font, one format, and one placement location throughout.
Labels are the backbone of any pantry system. Without them, the system collapses within a month. Even adults in a household stop returning items to the right spot without visual cues.
What Type of Labels Last the Longest?
Vinyl labels with a laminate coating last the longest in pantry environments. They resist moisture from steam and humidity and hold up through repeated wiping. They typically last two to four years before needing replacement.
Chalkboard labels are budget-friendly and reusable. They work well if your pantry contents change seasonally. The downside is that chalk wax markers smear more easily than printed labels.
Printed labels from a home label maker (like a Dymo or Brother P-Touch) are fast to make and easy to replace. They cost roughly $0.02 to $0.05 per label and stick cleanly to most surfaces.
Where Should Labels Go on Containers and Bins?
Place labels on the front face of every container at the same height. Eye-level placement makes scanning a shelf fast. When labels are at different heights or on different sides, the pantry reads as chaotic even when it’s technically organized.
For pull-out bins, label the front panel. For canisters, label just below the lid. For shelf sections, use a label strip on the shelf edge — this tells everyone where each category lives, even when the shelf is temporarily empty.
How Do You Organize a Pantry on a Tight Budget?
Quick Answer: A complete budget pantry makeover costs $30–$75 using dollar store baskets, printed labels from a free Canva template, and repurposed jars from your kitchen. The key is uniformity — matching bins and consistent labels create a clean look without expensive matching sets.
What Can You Buy at the Dollar Store for Pantry Organization?
Dollar stores carry several pantry-worthy items. Rectangular wire baskets, fabric bins, clear stackable bins, and lazy Susans are regularly stocked in most locations. Quality varies, so check weight capacity before loading heavy items.
Stick to one or two bin styles per visit. Mixing too many styles from the dollar store creates visual noise, which is the opposite of an organized pantry look.
What’s a Realistic Budget Pantry Makeover Cost?
| Item | Budget Option | Mid-Range Option | Cost (Budget) | Cost (Mid-Range) |
|---|---|---|---|---|
| Storage bins (6–10) | Dollar store fabric bins | iDesign or mDesign bins | $6–$10 | $30–$60 |
| Airtight canisters (6–8) | Repurposed glass jars | OXO POP containers | $0 | $50–$90 |
| Lazy Susan (1–2) | Dollar store acrylic | Bamboo or stainless | $3–$6 | $15–$25 |
| Labels (full pantry) | Printed on cardstock + tape | Dymo LabelWriter labels | $2–$4 | $10–$20 |
| Shelf risers (2) | Stacked hardcover books | Bamboo expandable riser | $0 | $15–$25 |
| Total Estimate | Budget | Mid-Range | $11–$20 | $120–$220 |
How Should You Organize Canned Goods in a Pantry?
Quick Answer: Store canned goods label-side out on a lower shelf or tiered riser. Group by category — beans, soups, tomatoes, vegetables, fruit. A FIFO system (First In, First Out) places newer cans behind older ones so nothing expires before you use it.
Canned goods are one of the trickiest pantry categories because they’re heavy, uniform-looking, and easy to lose track of. A tiered can organizer or a simple shelf riser solves both problems instantly.
What Is the FIFO Method for Canned Goods?
FIFO stands for First In, First Out. It’s a stock rotation method used in professional kitchens and grocery stores. When you bring home new cans, you place them behind the existing cans. You always grab from the front. This ensures the oldest cans get used first.
Without FIFO, you’ll regularly find cans two or three years past their best-by date buried at the back of the shelf. Most canned goods last 18 months to five years depending on the item, but quality drops significantly past the printed date.
How Do You Organize a Small or Narrow Pantry?
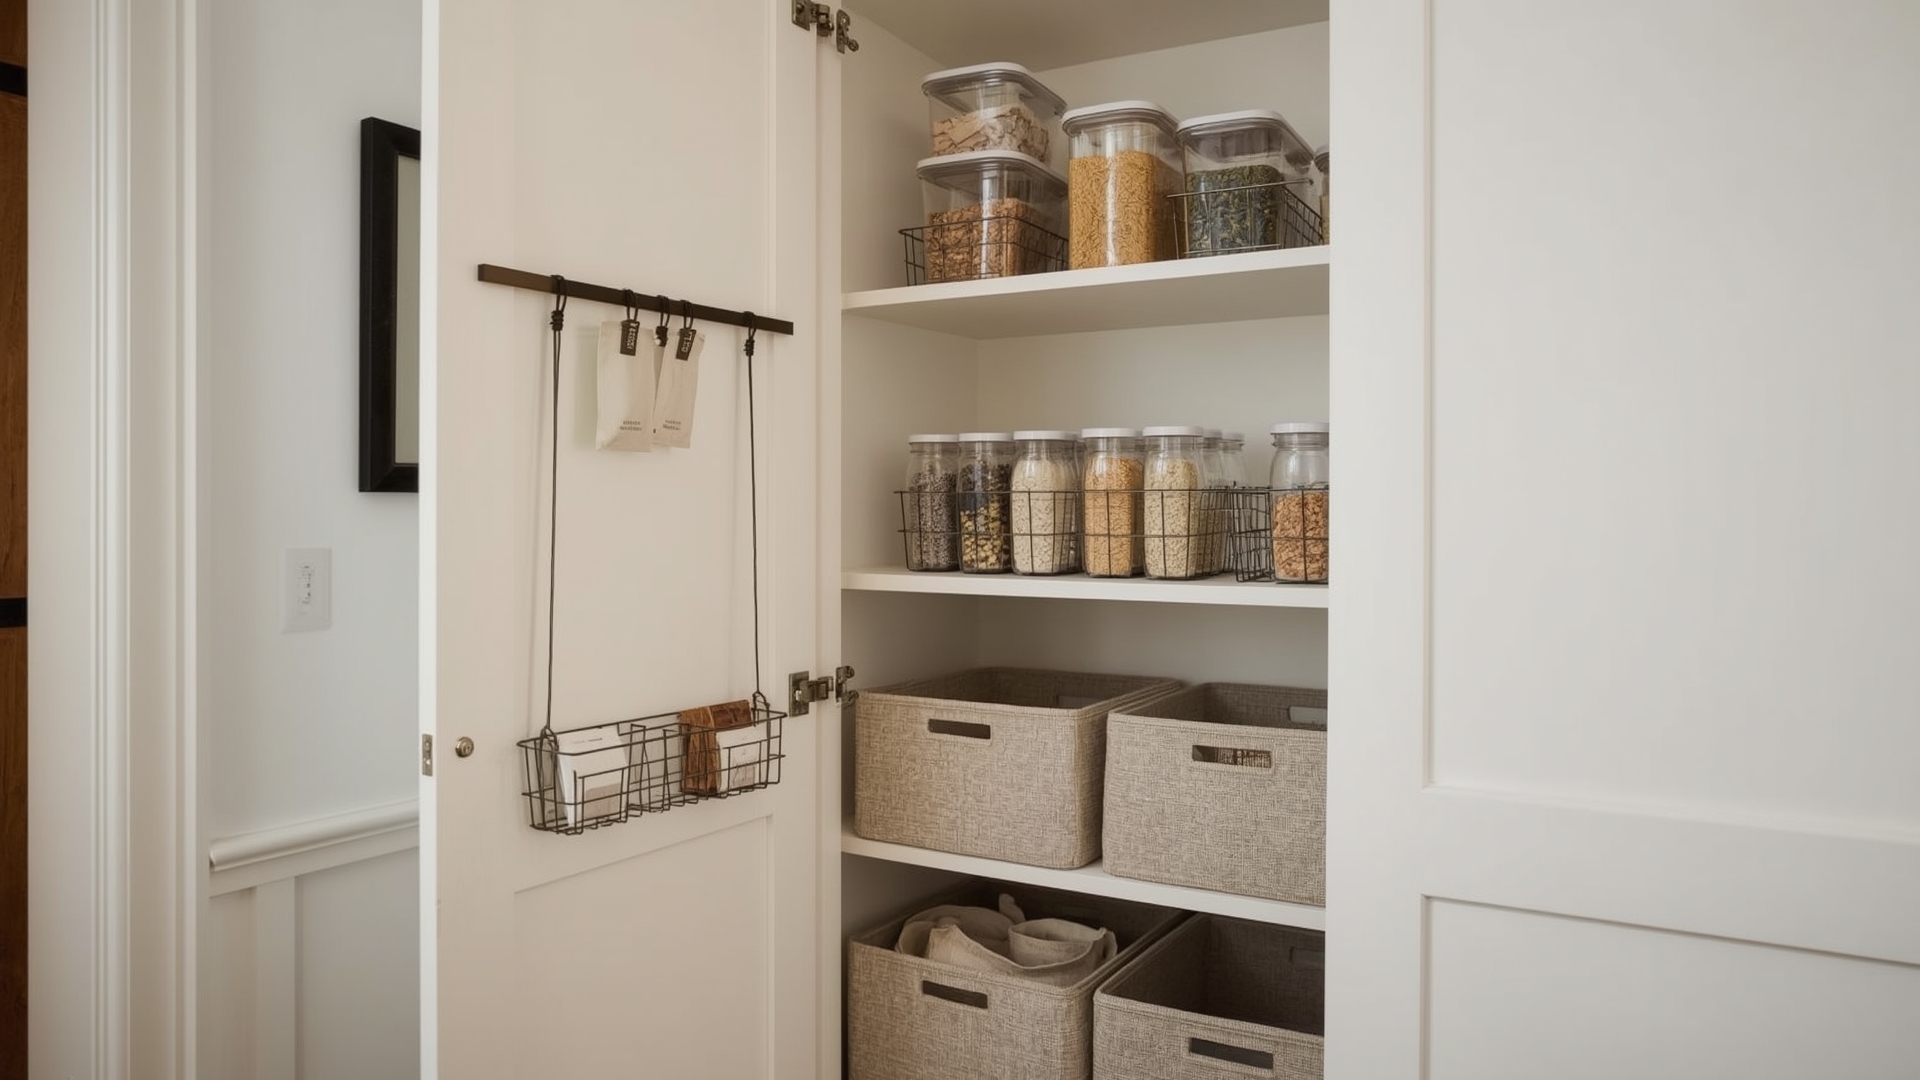
Quick Answer: Small pantries benefit most from vertical space, door storage, and pull-out bins. Add an over-the-door organizer, use stackable containers, install a tension rod for extra shelf space, and keep only current-month supplies inside. Store overflow stock elsewhere.
What Vertical Storage Tricks Work Best for Small Pantries?
Vertical space is the most underused dimension in a small pantry. Stack containers instead of spreading them side by side. Add a second tension rod beneath a shelf to hang lightweight baskets. Use risers to create a second level on existing shelves.
Command strips and small wall-mounted hooks can hold lightweight items like measuring cups, small bags, or kitchen twine on the interior walls. This frees up shelf space for larger items.
How Can a Walk-In Pantry Use Corner Space Better?
Corner shelves in a walk-in pantry are often wasted because items in the back become unreachable. A rotating carousel shelf — sometimes called a corner lazy Susan — makes every inch accessible. These typically run $25 to $60 for freestanding versions.
For deep corner shelves, use pull-out drawers or bins on a track system. These cost $40 to $150 for a set, but they eliminate the dead zone where items disappear and expire unseen.
What’s the Best Way to Organize Snacks in a Pantry?
Quick Answer: Group all snacks into one dedicated bin or basket at a reachable height. For households with kids, place the kids’ snack bin at their eye level on a lower shelf. Divide adult snacks, kids’ snacks, and school lunch supplies into separate labeled bins.
Snacks are the category most likely to take over a pantry. They come in irregular shapes, different-sized bags, and tend to multiply between shopping trips.
How Do You Stop Snacks from Taking Over the Pantry?
Give snacks a fixed container and a fixed amount of space. When the bin is full, no more snacks enter the pantry until items are used. This applies a natural inventory limit that prevents overflow.
Use a tall, deep pull-out bin for snack bags and loose packaging. Items like individual chip bags, granola bars, and fruit pouches fit well in this format and are easy for both adults and children to access without creating a mess.
How Do You Organize Baking Supplies in a Pantry?
Quick Answer: Keep all baking supplies in one dedicated zone, ideally on an upper shelf since they’re used less frequently. Store flour and sugar in labeled airtight containers. Group smaller items — baking powder, baking soda, vanilla extract, chocolate chips — in one labeled bin for easy retrieval.
How Do You Store Flour and Sugar Long-Term?
Flour stored in its paper bag absorbs moisture and attracts pantry pests. Transfer flour to an airtight container immediately after purchase. A four-quart square canister holds a standard five-pound bag of flour with space to spare.
Sugar doesn’t spoil, but it hardens when exposed to moisture. Store it in an airtight container with a brown sugar disk (a small terracotta disk) to maintain texture. White sugar lasts indefinitely. Brown sugar lasts up to two years in an airtight container.
What’s a Good System for Baking Spices and Extracts?
Group baking spices together in one lazy Susan or pull-out bin, separate from cooking spices. Baking spices (cinnamon, nutmeg, cloves, allspice) get used together and should live together. Extracts (vanilla, almond, peppermint) can share that bin or sit in a small door pocket.
Label the bottom of spice jars if they’re stored on a lazy Susan. When you spin to access the back row, you’ll see the label immediately instead of picking up every jar to find the one you need.
How Do You Maintain a Pantry Organization System Long-Term?
Quick Answer: Schedule a five-minute weekly pantry reset — return misplaced items to their zones, pull forward any items near expiration, and update your grocery list based on what’s running low. A monthly 15-minute check handles expired items and restocking overflow supplies.
What Pantry Habits Prevent Re-Organizing from Scratch?
The biggest mistake people make after a pantry overhaul is treating it as a one-time project. Pantry organization is an ongoing habit, not a renovation. Two habits keep it working: returning items to their zone every time, and shopping your pantry before you shop the store.
Pantry shopping before a grocery run means checking your existing stock before writing a list. This prevents buying three boxes of pasta when you already have four. It also prompts you to use items before they expire.
How Do You Get the Whole Family to Maintain the Pantry System?
Labeled zones are the most effective tool for household compliance. When the snack bin has a label and a fixed location, anyone in the household can return items correctly without asking where things go.
Add a “use this first” bin or a designated front-row space on each shelf for items nearing their expiration date. This creates a visual cue that anyone can follow. No reminders needed.
What Are the Most Common Pantry Organization Mistakes?
Quick Answer: The most common mistakes are buying containers before zoning, mixing categories in the same bin, using opaque containers for high-use items, and skipping labels. These all create a pantry that looks organized but fails within weeks because it isn’t intuitive to maintain.
Why Does Buying Containers First Cause Problems?
Most people walk into a home goods store, buy a matching container set, and then try to make their pantry fit those containers. This is backwards. Containers should fit your pantry, not the other way around.
Measure your shelf depth, width, and height before buying anything. Write down your zone categories. Know how many items go in each zone. Then buy the containers that match those dimensions and quantities.
What Pantry Items Should Never Be Stored Together?
- Cleaning supplies and food: Even sealed cleaning products can transfer fumes to nearby dry goods over time.
- Onions and potatoes: They each release gases that accelerate the other’s spoilage. Store in separate locations.
- Bread and canned goods: Bread needs airflow. Storing it in an enclosed bin next to cans causes faster mold growth.
- Pet food and human food: Pet food attracts pantry pests, including moths and weevils, that then spread to dry goods.
Frequently Asked Questions
How long does it take to organize a pantry from scratch?
A standard kitchen pantry takes two to four hours to fully sort, zone, and organize — including decanting and labeling. A large walk-in pantry with significant clutter can take a full day. The first step, pulling everything out, is the most time-consuming part.
What is the best pantry organization system for a deep pantry?
Pull-out bins and lazy Susans are the best tools for deep pantries. They bring back-of-shelf items forward without digging. Tiered shelf risers also help by making rows of items visible from the front. Deep shelves without pull-out solutions create dead zones where food goes unnoticed.
How do you deal with pantry moths?
Pantry moths (also called Indian meal moths) are attracted to dry goods like flour, cereal, oats, and dried fruit. Transfer vulnerable items into airtight containers as soon as you bring them home. If you find an infestation, discard affected products, wipe shelves with white vinegar, and place pheromone traps to catch remaining moths. Airtight storage is the only long-term prevention.
Is it worth investing in matching container sets?
Matching containers create a cleaner visual and make stacking easier, but they’re not necessary for a functional pantry. Uniform bin colors or consistent label styles create the same organized look at a fraction of the cost. Prioritize good labeling and smart zoning before spending on aesthetic containers.
How do you organize a pantry when you have a large family?
Large families need higher inventory capacity and clearly labeled zones for each meal type. Use deeper bins for snacks, duplicate zones for high-use items like breakfast and lunch supplies, and a dedicated overflow shelf for backup stock. A weekly pantry check is essential to manage higher consumption and prevent running out of staples mid-week.
What’s the difference between a pantry cabinet and a walk-in pantry?
A pantry cabinet is a freestanding or built-in single unit, usually 12 to 24 inches deep and 60 to 84 inches tall. A walk-in pantry is a dedicated room or large closet with shelving on multiple walls. Cabinet pantries need vertical space solutions and door organizers. Walk-in pantries can use zone-based wall sections with more storage depth and capacity.